Starting Your Own WiFi Hotspot Business
Masters Of Sites
12/09/2024

Introduction
In today’s fast-paced digital world, the demand for constant connectivity is higher than ever. Starting a Wi-Fi hotspot business is not only a great way to meet this demand but also a profitable venture. Whether you’re planning to offer Wi-Fi at your café, restaurant, co-working space, or any public area, this step-by-step guide will help you get started.
If you’re considering starting a WiFi hotspot business, you’re in the right place! This blog post will guide you through the essentials of setting up your own WiFi hotspot service, including options like MikroTik, PSfence, and Ubiquiti.
What is a Wi-Fi Hotspot Business?
A Wi-Fi hotspot business provides wireless internet access to customers in a specific area. People can connect their devices—like smartphones, laptops, or tablets—via your hotspot to access the internet. This service is especially valuable in public spaces where individuals may need internet but don’t have sufficient mobile data.
Steps to Start Your Wi-Fi Hotspot Business
Conduct Market Research
- Identify Your Target Audience: Understand who will use your Wi-Fi service. This could be students, professionals, tourists, or anyone in need of temporary internet access.
- Scout for Locations: Look for areas with high foot traffic, such as coffee shops, parks, libraries, or community centers. Check out the competition nearby and see what they offer.
Choose Your Equipment
- Router/Access Points: Invest in a high-quality router that can manage multiple users without sacrificing speed. Features like dual-band and long-range coverage are important.
- Modem: Depending on your internet service provider (ISP), you might need a separate modem to access high-speed internet.
- Wi-Fi Management Software: Use software to manage your network, monitor users, and set up login or payment systems.
Select an Internet Service Provider (ISP)
- Research and select a reliable ISP that offers fast, stable internet with enough bandwidth for many users. Explore business packages specifically designed for hotspot services.
Set Up Your Network
- Placement of Equipment: Position your router or access points in strategic spots to ensure maximum coverage. Make sure there are no obstacles blocking the signal.
- Connect to the Internet: Follow the instructions from your ISP to connect your modem and router. Ensure all cables are securely in place.
- Configure Your Network: Access your router’s settings via a web browser to set up your network name (SSID) and protect it with a strong password.
Create a Captive Portal
- A captive portal is the page users see when they connect to your Wi-Fi. This page can feature:
- Terms of Service: Display rules for using your Wi-Fi.
- Login Form: Collect user information if needed for tracking or promotional purposes.
- Payment Options: If you’re charging for access, include payment methods like credit cards or digital wallets.
- A captive portal is the page users see when they connect to your Wi-Fi. This page can feature:
Test Your Connection
- Before going live, test your connection with multiple devices to ensure a strong and stable signal. Double-check that your captive portal is working as expected.
Market Your Wi-Fi Hotspot
- Promotional Strategies: Spread the word using social media, flyers, and word of mouth. Offer free trials or initial discounts to attract customers.
- Partner with Local Businesses: Team up with local shops or organizations that can benefit from offering Wi-Fi to their customers.
Monitor and Maintain Your Network
- Regularly review network performance and usage. Stay in contact with your ISP for technical support and updates. Collect feedback from users to improve service quality.
Why Start a WiFi Hotspot Business?
- Increased Foot Traffic: Providing free WiFi can attract more customers to your establishment.
- Revenue Potential: You can charge for premium access, display ads, or even partner with local businesses.
- Community Engagement: Offering WiFi in public spaces helps create a more connected community.
Setting Up Your WiFi Hotspot
Step 1: Assess Your Location
Analyze the location where you want to set up your hotspot. Consider factors like:
- Target Audience: Who will use the WiFi? Tourists, students, or professionals?
- Foot Traffic: Is it a busy area?
- Existing Infrastructure: Is there already internet service available?
Step 2: Choose Your Equipment
Selecting the right equipment is crucial for delivering reliable service. Here are three popular options:
MikroTik
- Pros: Powerful, customizable, and can handle multiple users effectively.
- Setup:
- Purchase a MikroTik router.
- Connect it to your modem using an Ethernet cable.
- Access the router’s web interface via a browser (usually at 192.168.88.1).
- Configure the internet settings, wireless settings, and setup security protocols like WPA2.
- Use MikroTik’s User Manager for creating user accounts and managing connections.
PSfence
- Pros: Specifically designed for public hotspots, user-friendly interface, and excellent management features.
- Setup:
- Sign up for a PSfence account and purchase a compatible router.
- Connect the router to your internet source.
- Configure the router with PSfence’s dashboard to set up authentication, bandwidth limits, and monitoring options.
- Customize your landing page to include your branding and any promotional content.
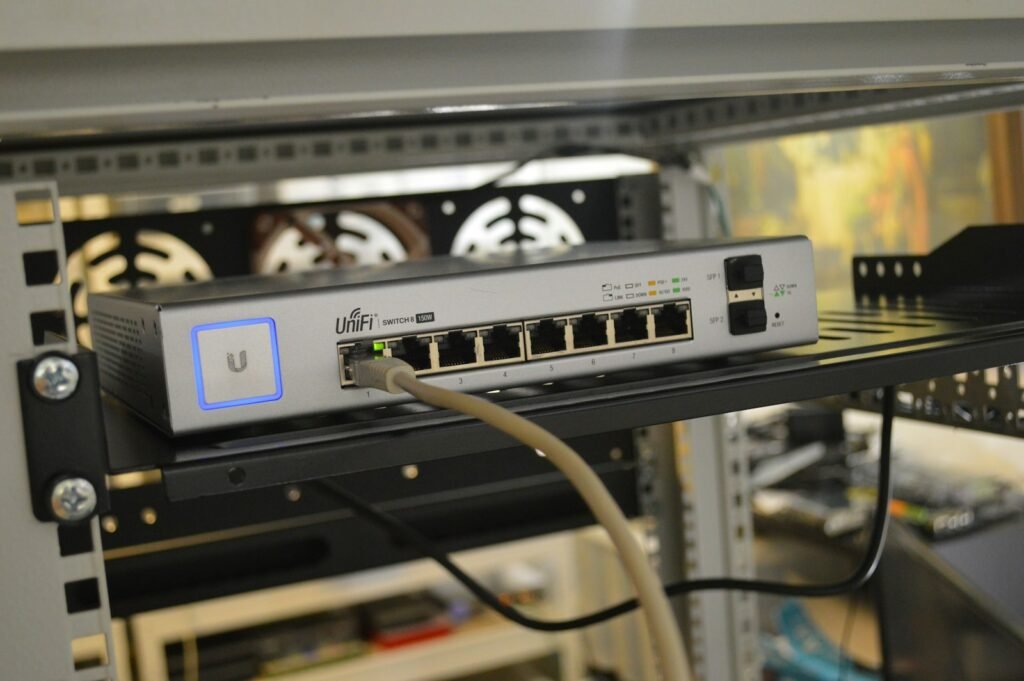
Ubiquiti
- Pros: Robust performance, great range, and scalability.
- Setup:
- Buy a Ubiquiti UniFi access point.
- Connect it to your modem with Ethernet and Power over Ethernet (POE).
- Download the UniFi Controller software or use the UniFi mobile app for easy setup.
- Guide through the setup wizard to configure your network settings, security protocols, and guest access controls.
Step 3: Establish a Reliable Internet Connection
To maintain a stable WiFi service, consider the following:
- Bandwidth: Choose a high-speed internet plan that can support multiple users. Look for download speeds of at least 50 Mbps.
- Backup Connection: Plan a backup internet solution in case your primary service goes down. Consider LTE or a secondary broadband connection.
Step 4: Implement Security Measures
Ensure that your network is secure to protect both your business and customers:
- Use WPA3 encryption for wireless security.
- Set up a guest network separate from your main network.
- Regularly update your router’s firmware to patch vulnerabilities.
Step 5: Monetize Your Service
While offering free WiFi can be enticing, find ways to generate revenue:
- Freemium Model: Offer free access with limited speed/time and charge for premium access.
- Advertisements: Partner with local businesses to display ads on your landing page.
- Sponsorships: Collaborate with sponsors to promote their services to your users.
Step 6: Monitor Performance and Upgrade
Regularly check the performance of your WiFi network. Use tools provided by your equipment’s software (like MikroTik, PSfence, or Ubiquiti) to monitor usage. Be prepared to scale up your services as your user base grows.
Conclusion
Starting a WiFi hotspot business can be a rewarding venture with the right approach and tools. By carefully selecting your location, equipment, and services, you can create a thriving business that supports your community’s connectivity needs. Whether you choose MikroTik, PSfence, or Ubiquiti, each option provides you with the necessary tools to create an efficient and enticing hotspot. Happy networking!
Recent Post
-
 22 Jun 2025Building Strong WiFi Hotspots & Networks in Africa: What It Really Takes
 -
 21 Apr 2025Starlink's Entry into Uganda
 -
 13 Dec 2024My WhatsApp is Hacked
 -
 29 Oct 2024Choosing the Best Fibre Internet in Uganda
 -
 12 Sep 2024Starting Your Own WiFi Hotspot Business
 -
 31 Jul 2024Overcoming Challenges for Businesses with Limited Security Resources
 -
 11 Apr 2024Unleashing Creativity: Finding the Best Website Company for Web Development and Design
 -
 24 Mar 2024Exploring Cybersecurity and Its Career Paths
Categories
Grow Your Business Today
Empower your business growth with our innovative solutions and strategic expertise. Start expanding your success today with our comprehensive services.